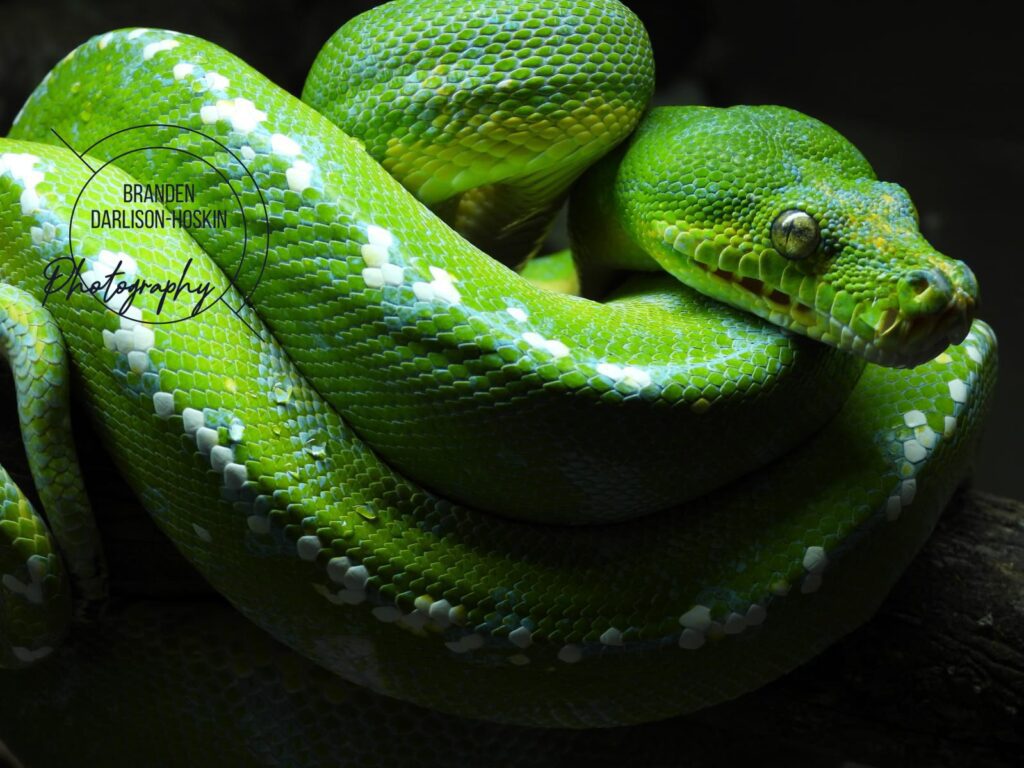
The Northern green tree python (Morelia azurea) is a Boid from Papua and neighbouring islands. Famed for its striking green appearance, variable morphology and characteristic ontogenetic colour change, the green tree python has been in high demand with hobbyists for a long time. Now, successful captive-breeding alongside a greater understanding of the species’ husbandry requirements is beginning to pave the way for these stunning snakes to become well-established in herpetoculture. Breeder and hobbyist, Branden Darlison-Hoskin successfully bred his green tree pythons earlier this year. Here’s how he did it…
Background
My passion for reptiles came from watching Steve Irwin‘s “Crocodile Hunter”. I remember watching an episode when Steve and Terri both had a stunning Southern green tree python (Morelia viridis) pair and it sparked my interest in them. Little did I know that 15 years later I would have successfully captive-bred my own green tree python pair!
I purchased my first green tree python (M. azurea) back in 2017 at the Houten Reptile Expo in The Netherlands. This was a species that I had rarely come across in many of my local reptile shops, so when my eyes glanced across at this “Manokwari” I immediately fell in love. I had researched the species for a long time and this was the right time for me to commit.
Basic Green Tree Python Husbandry
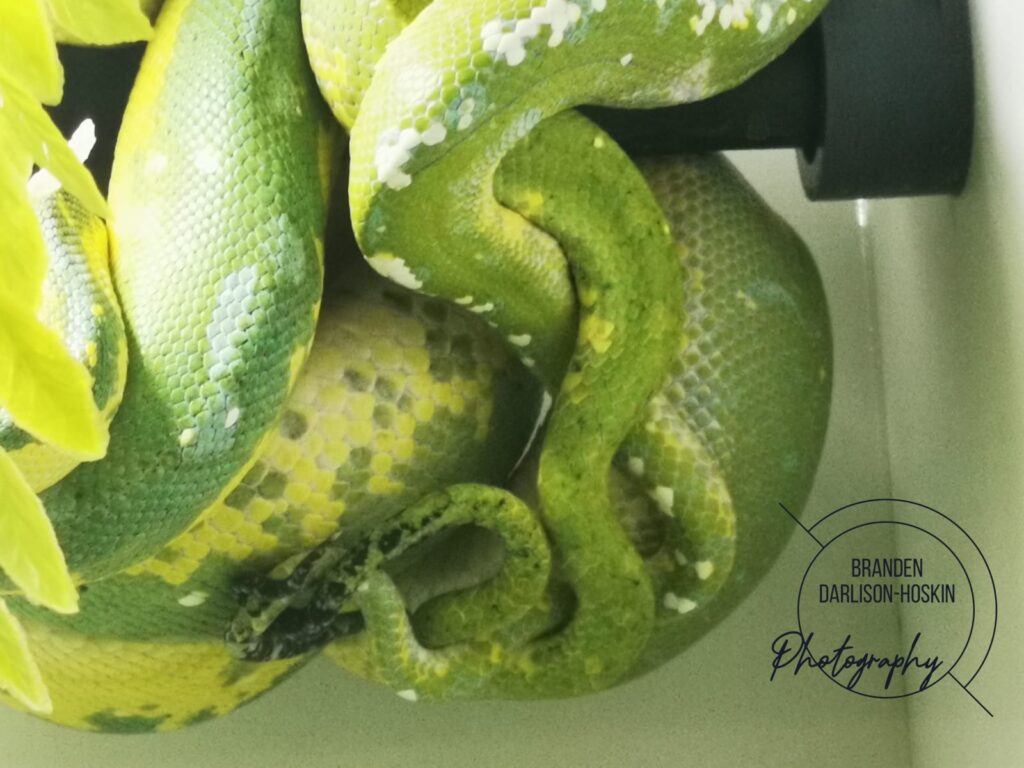
In my experience, green tree pythons are best suited to a sterile environment, especially when breeding. For that reason, my enclosures are constructed from PVC so that they can be easily cleaned and wiped down regularly.
A green tree python requires adequate perches on which to sit comfortably and I use ridged, plastic-coated garden stakes for this purpose. The perches should be no thicker than the girth of the snake and no thinner than half of their girth.
Lots of people use different perches. Some use real branches, and some use PVC pipe that has been heated with a blow torch and twisted, but I like the garden stakes as these are easy to clean and I find that the green tree python can grip onto the ridges more easily. I also provide plenty of plastic plants that hang from the ceiling to try to recreate a rainforest environment, whilst still being able to clean the enclosures easily and effectively.
A green tree python can become overweight if fed too often and can easily prolapse if given prey that’s too large. I feed my snakes every two to three weeks, using either large mice or small weaner rats. Importantly, I don’t feed unless the last food item has been fully passed through to ensure my animals do not get compacted.
Lighting and Heating
I use a low UV (0.4) T5 bulb as my primary form of lighting. For heating, I use reptile radiators, controlled by a microclimate thermostat. I prefer the EVO 3 Connected, as you can keep an eye on and control the thermostat through an app. I keep the daytime temp at 28.5°C and the night-time temp only drops by 1.5°C to 27°C.
Every green tree python has a large water bowls and, when the lights go off, I see them regularly hang from the perch and drink. Some people offer elevated water bowls but mine do well with them on the floor. Water is changed daily as ‘green trees’ love fresh, cold water. I also use newspaper as a substrate which helps to maintain a sterile environment.
Pairing
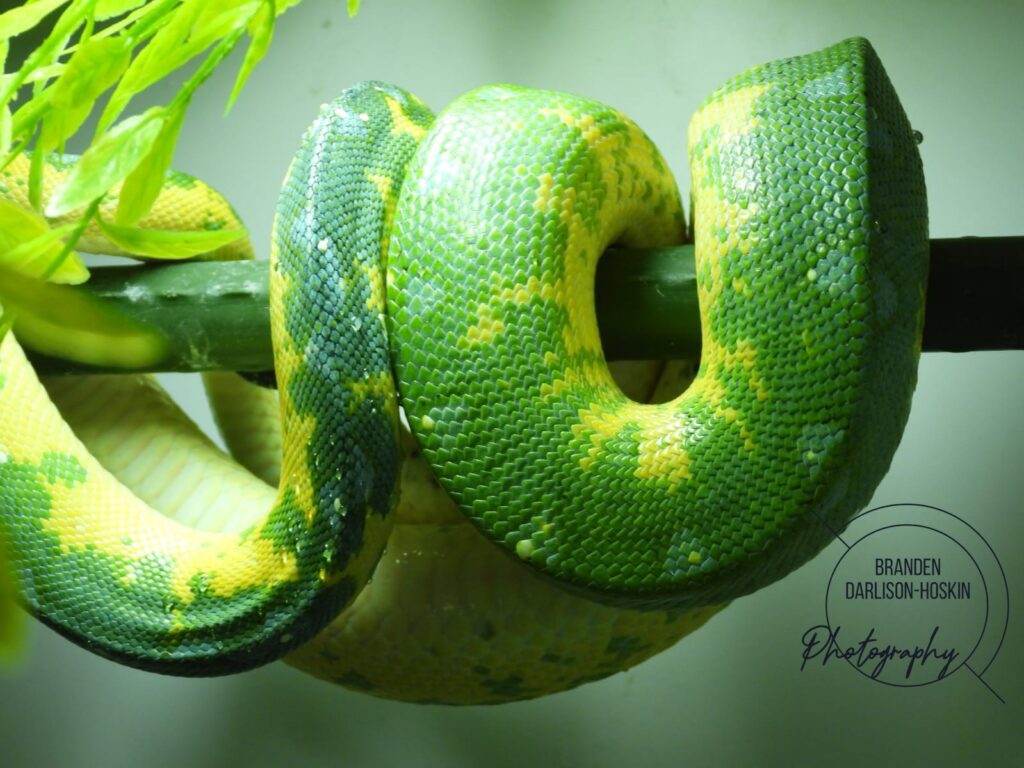
I sourced my female green tree python in February 2021 as a captive-farmed import from Indonesia. I purchased her as a “high-yellow Biak” and she weighed just 261 grams. As she was an import, I took a faecal sample to the vet to check for any internal parasites. This came back as positive for pinworm, with a very high reading. She was treated successfully with Panacur and then started to put on weight very well. When I finally paired her in March 2023, she weighed 813 grams, meaning she had more than tripled her original body weight in two years.
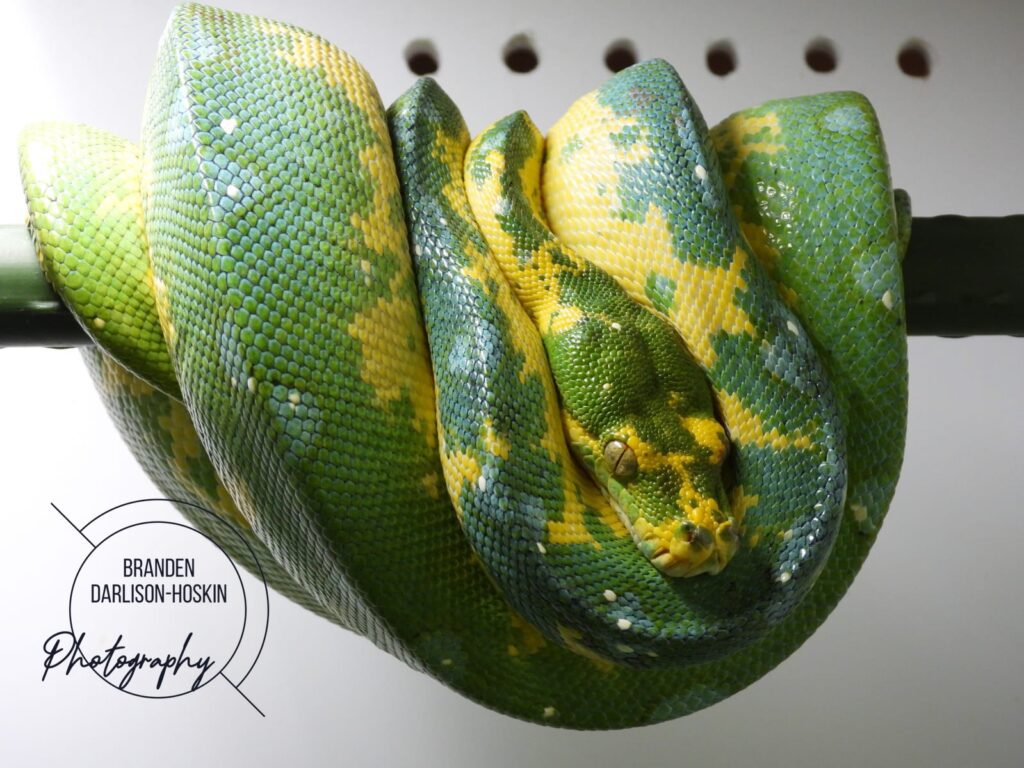
My close friend (@Nipper_tattoo) kindly donated a male to me as he was reducing his collection. The male was purchased as a “high-white Sorong” and is a stunning example of the locality form, with the most incredible blue and white pattern. Eventually, when I was confident the pair were in the right health conditions and well established, I started the breeding process.
The Breeding Process
My first step towards inducing the breeding process was to reduce the night time temperatures in both enclosures. Over a few weeks, I slowly reduced the night temperature from 27°C to down to 20°C but kept daytime temperatures at a consistent 28.5°C. I did this by reducing 1°C every seven to ten days.
On the 28th of March, during the day, I introduced the male Sorong green tree python to the female Biak green tree python and instantly she was very interested in him. She was dropping urates and rubbing her cloaca all over the perches, but she showed no aggression. He, on the other hand, showed no interest until the 6th of April which was the first evening that the night temperatures dropped to 20°C. They copulated on and off for just over a week, then showed no interest in each other. They both sat on the same perch but on opposite sides of the enclosure. This gave me confidence in the green tree python pairing going forward.
The males tend to go off food for a few weeks in the run-up to breeding. However, he fed just after copulation. My female instantly went off food, which is the first refused meal since I got her over two years ago.
Over the next few weeks, her colour seemed to dull and fade, and she had a very light tinge of blue. I believe she ovulated on the 30th of April, showing a large, mid-bodied swell, which looked like she had eaten a large prey item. She had a pre-lay shed on June 2nd and laid her eggs 18 days later. I was warned by an experienced breeder that, with it being her first time breeding, she may drop the eggs from her perch and potentially in the water bowl. I was recommended to put blankets in the bottom of the enclosure and provide a much smaller water source.
She had a dark plastic tub full of dry sphagnum moss which had a small opening, so she felt safe and secure, and in the days close to laying she showed great interest in it. In the evenings she would also wrap herself in and under the blanket, but would return to her favourite perch by morning. On the day she laid, I noticed she wasn’t on her perch. She had found an opening in one of the blankets and wriggled her way in. I needed to see if she had laid the eggs and unfortunately believe I may have disturbed her as she was preparing to lay. As soon I peeked under the blanket, she struck at me and shot straight up to her perch and coiled up. Frustratingly, I had to go to work and came home to find she had laid 15 eggs, but they had been dropped from the perch and were sitting on the blankets below. She was coiled up on the perch and showed no interest in them. I didn’t know how long they had been sitting there, none were stuck together, and they also felt cold. I was dreading that I missed this opportunity, but I marked each green tree python egg with a marker pen the way I found them and placed them in the incubator immediately.
Incubation
After the female laid the eggs, I was recommended to take her out, clean her down, and thoroughly disinfect the enclosure. If she could smell the eggs, she could potentially stress and starve herself. I followed these steps, and on the first attempt to feed (which was around 5 days later), she ate her first meal with no hesitation.
My incubator was a simple, homemade, polystyrene box. I had a heat mat on the bottom, which was attached to the microclimate EVO 3 Connected thermostat, and I set this to 30.3°C. I had the egg crate elevated off the heat mat on small feet. On top of the egg crate, I had a plastic tub with around an inch depth of vermiculite. I then placed more eggcrate on top of the vermiculite. I positioned the probe of the thermostat exactly in the centre of the eggs, so I knew the eggs were sitting at the right temperature. I was aiming for 99% humidity and, with it being such a high figure, I had to avoid the tub collecting too much condensation as it may have dripped on the eggs and caused issues. I was also recommended to put a heat mat on the poly box lid, this was also controlled by the EVO 3 Connected but this probe was taped to the heat mat itself. This was set to 30°C which stopped the condensation forming. I also had a small computer fan inside the poly box to help circulate the air. I used a digital thermometer and hygrometer, and I positioned the probe in the same place as the thermostat to ensure the temperatures were reading correctly. I also had 2 more thermometers and hygrometers inside the tub, and this taught me a valuable lesson. I learnt that all 3 digital thermometers and hygrometers were all showing different readings, and these are all typical reptile products that you would buy at your local reptile shops. Upon further research, I found for just £30 you can buy a configured one that will give you an exact reading.
Hatching Time
After day one, the eggs started to shrivel. By day two it got much worse and by day three I thought I had lost them all. Even though the hygrometer read 99%, I was worried the readings weren’t correct so I added even more water to the vermiculite. When I placed the eggs into the incubator, I placed plastic straws on either side of the eggs to stop them from moving. I still wasn’t convinced that the humidity was correct, so I sprayed some paper towel and wrung it out so it was damp to the touch but not soaking. The straws allowed me to place this above the eggs without touching them and I repeated this process every day. The eggs were still shrivelled, but each day they started to look plumper and when candled, they showed good blood vessels.
Hatching
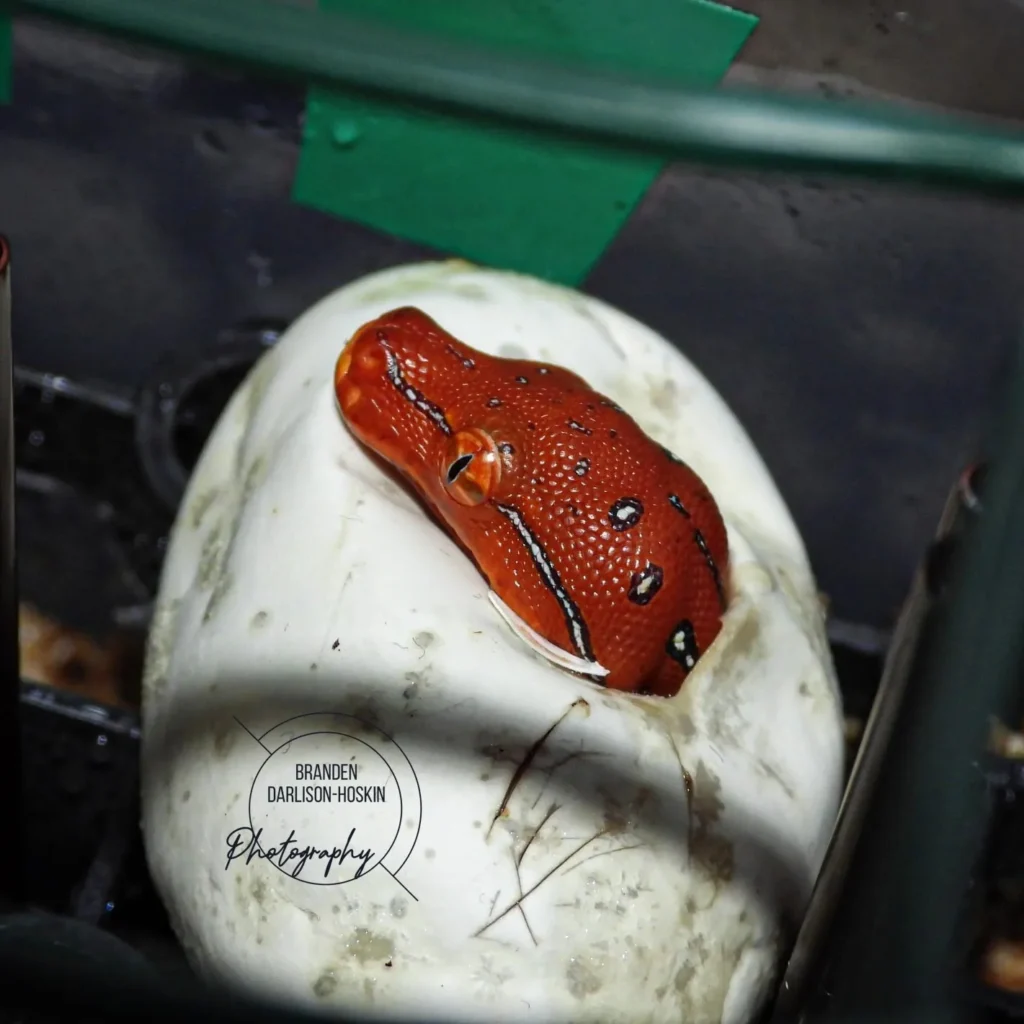
On day 45, I placed some garden mesh in the tub, so they had a place to perch if they hatched. On the 10th of August, day 51 of incubation, I came home from work and checked the incubator to find one red neonate. However, my excitement soon turned to disappointment as I realised it had died. The umbilical cord from the egg sack was tightly wrapped around the snake and had cut off circulation from the egg sack to the snake. So, for the next few days, I checked the incubator every hour, even throughout the night. It was both exhausting and exhilarating. I had so much disappointment from the loss of the first one, but it gave me some hope that maybe at least one might be fertile.
On the 11th of August at 3am, I opened the incubator to see a red “neo’s” head poking out of the egg. I was ecstatic! Finally, a live, healthy-looking baby green tree python. Eventually, when this neo left the egg, it was evident that this was much bigger than the previous one, which shows the nutritional value they get from the egg sack. I set it up in my hatchling rack and it perched straight away. I used the garden fencing mesh as it’s the perfect-sized perch for their tiny bodies.
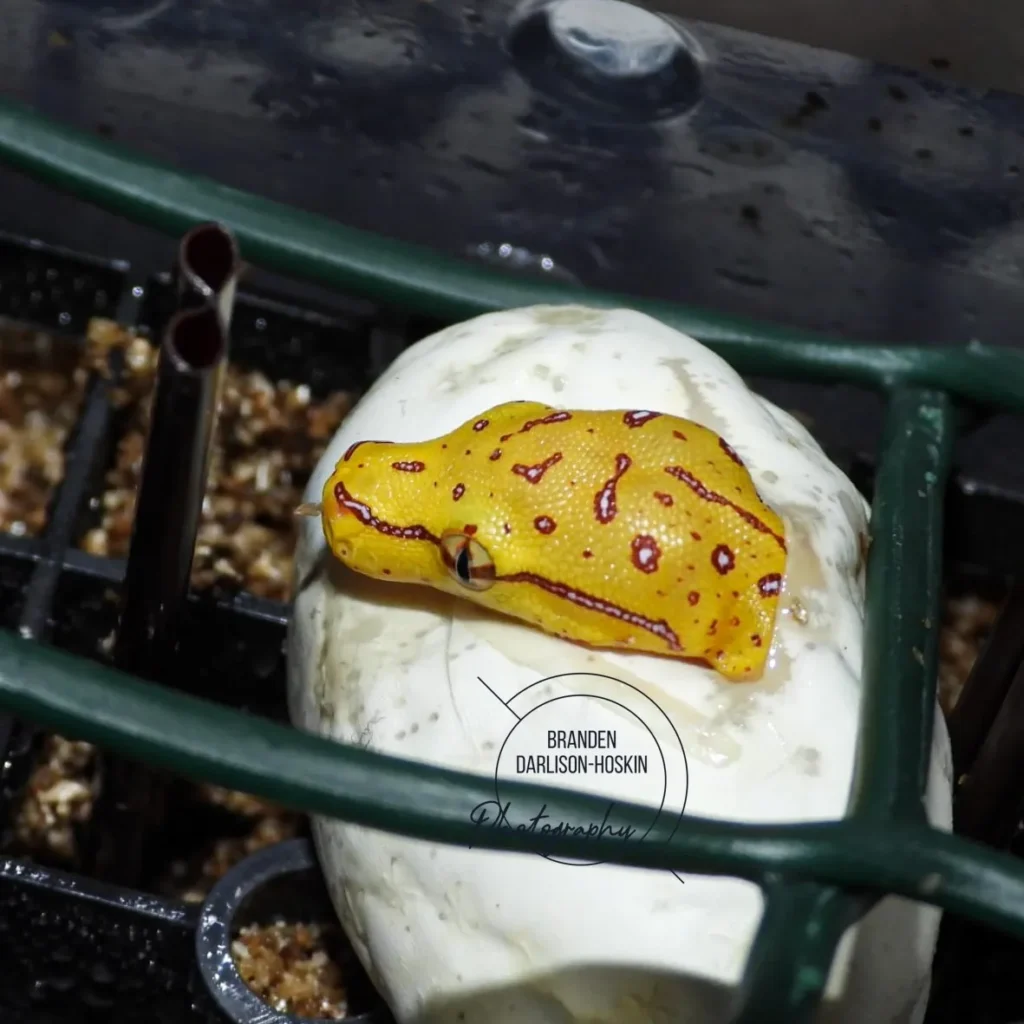
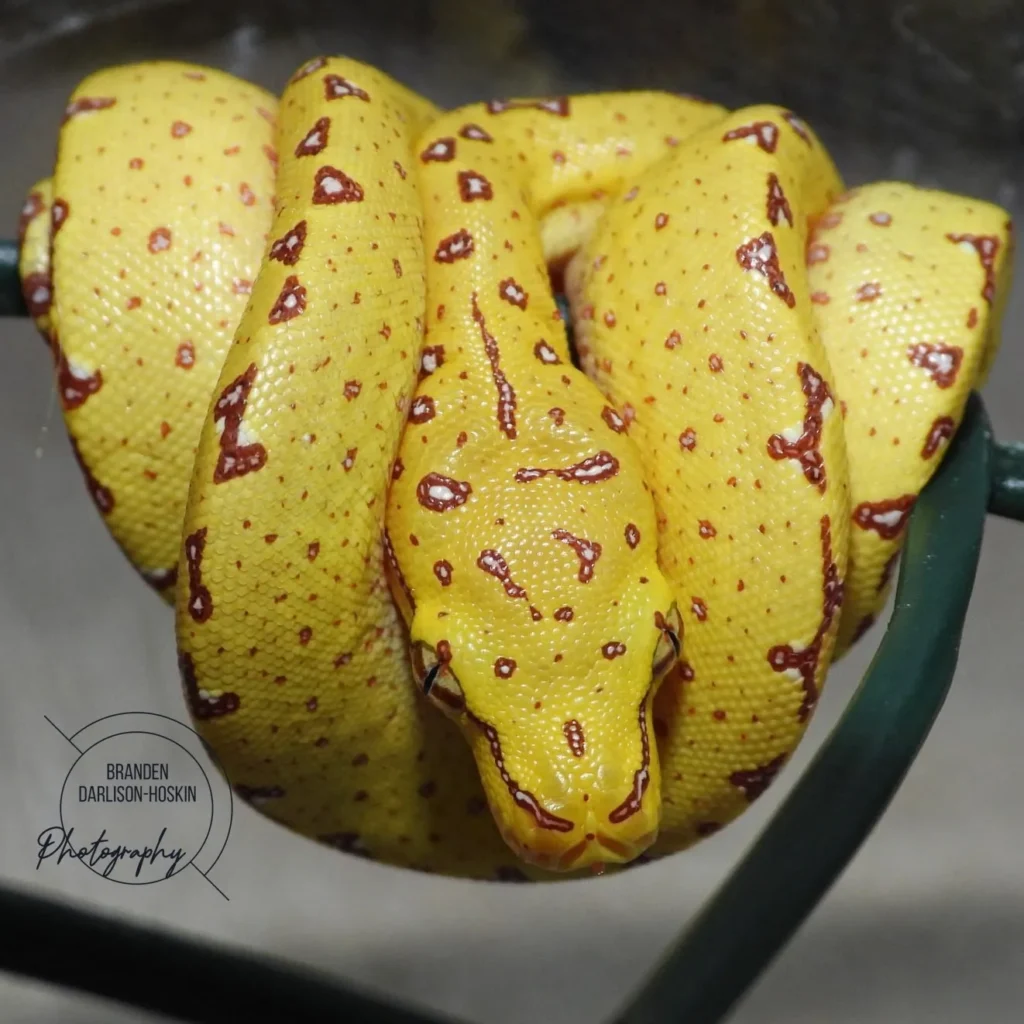
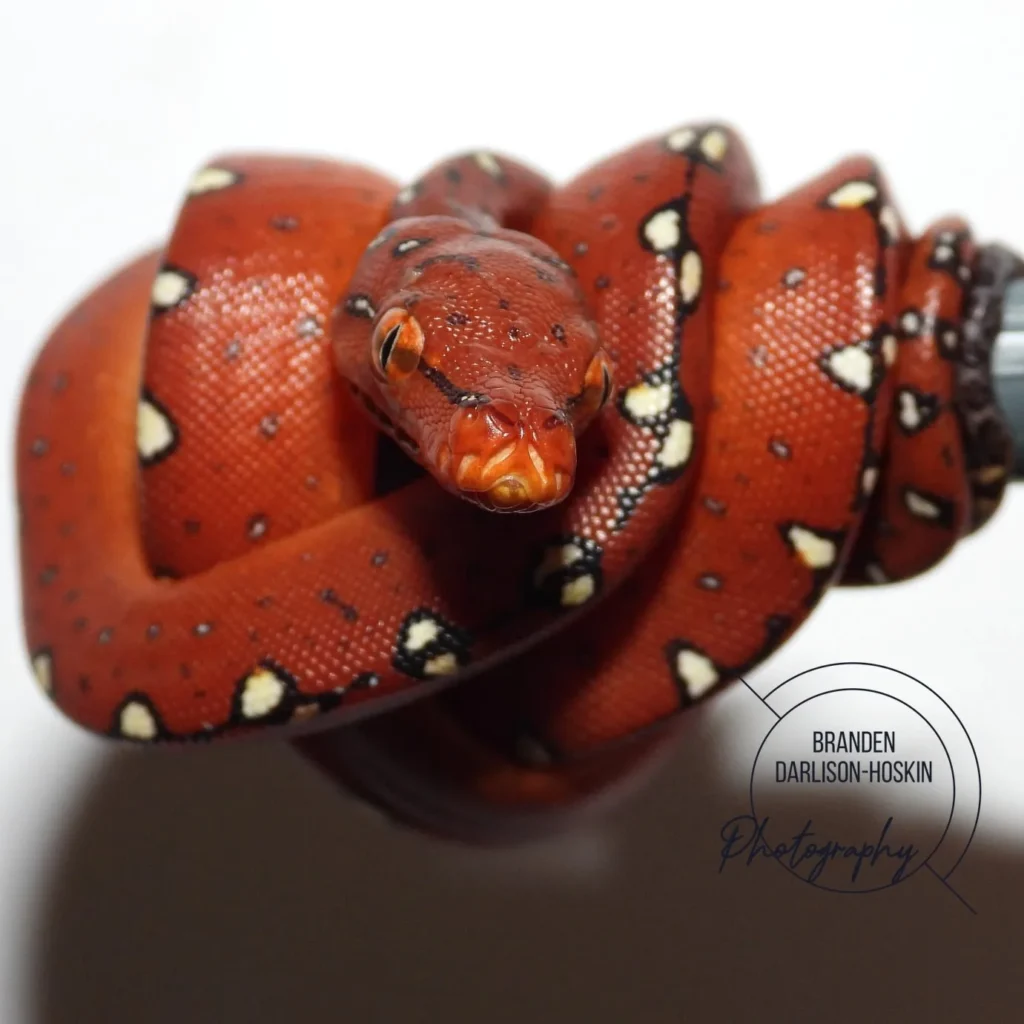
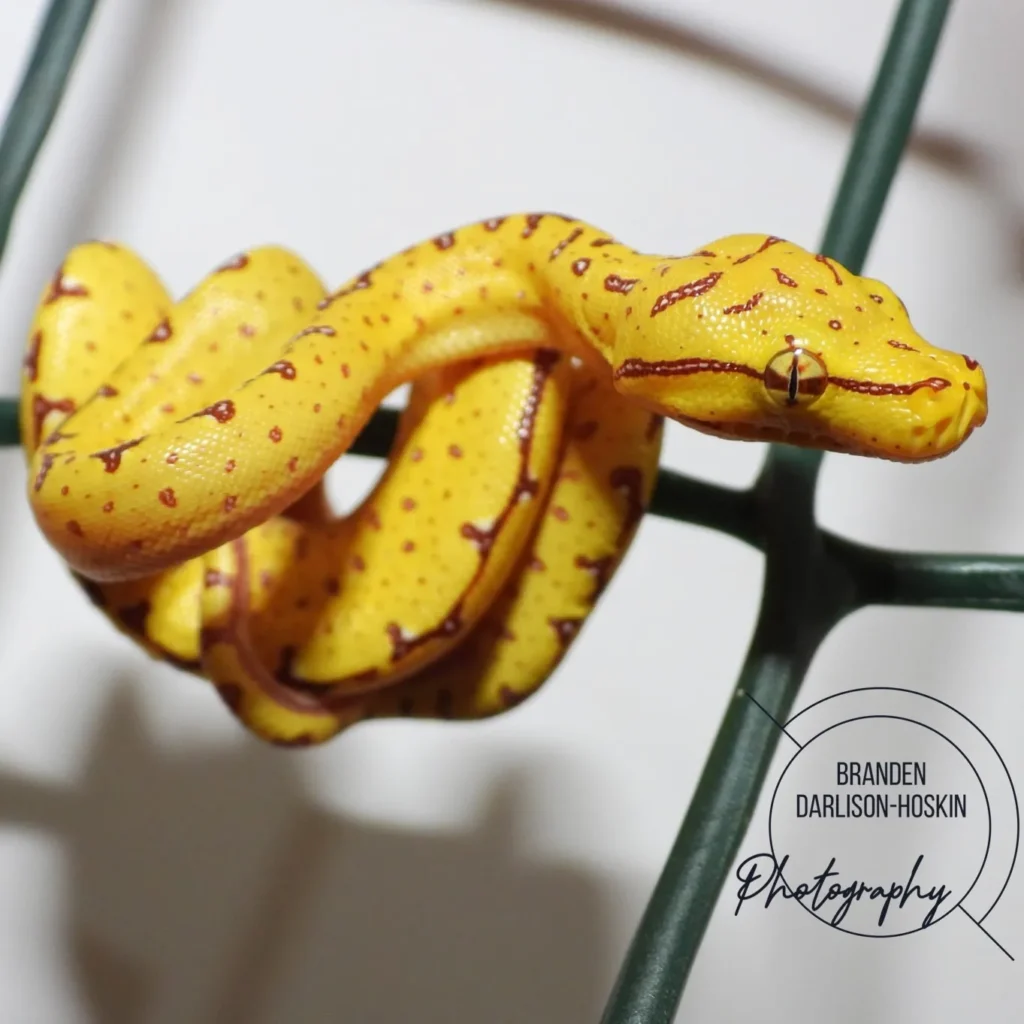
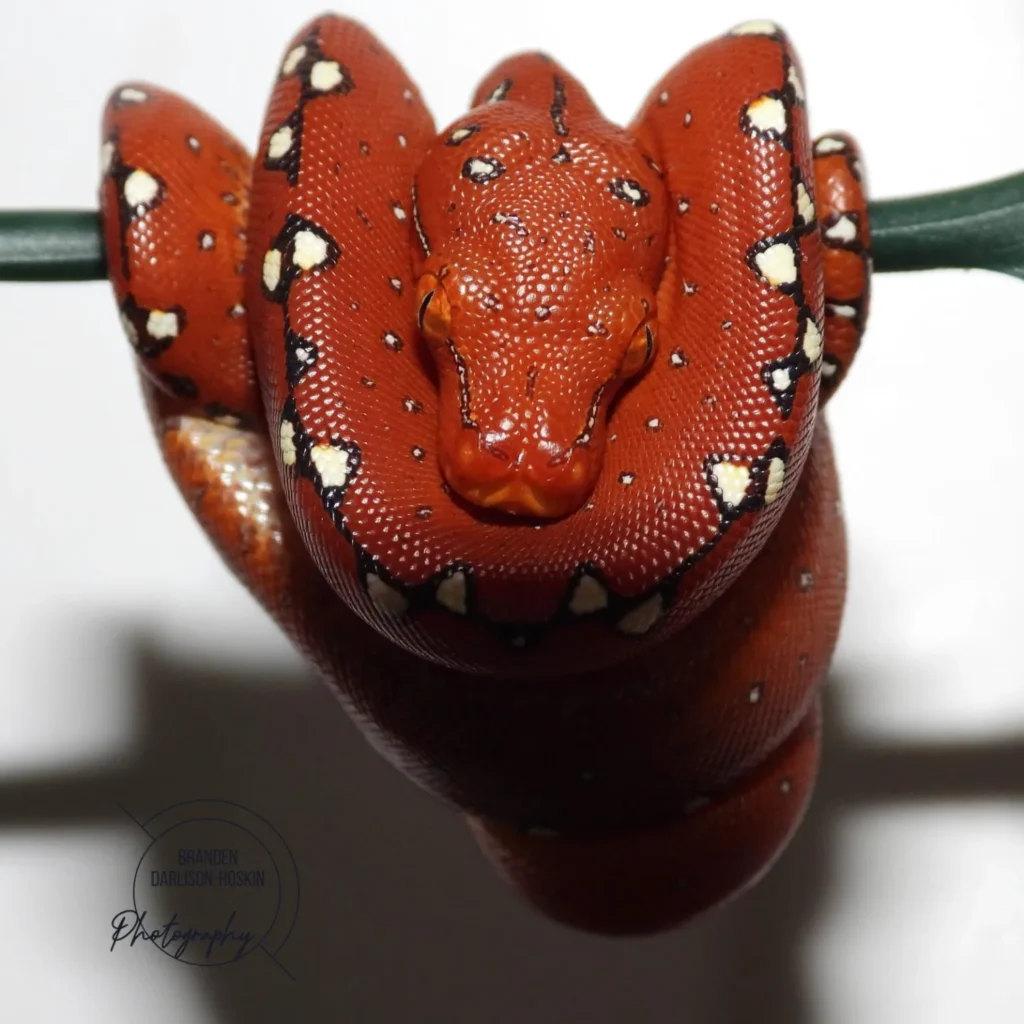
On the 12th of August at 7am, I had my first yellow neonate. I had another two red ones hatch on the same day, and on the following day I had a further two yellow and one red hatchlings, making seven green tree pythons in total (four reds and three yellows).
Reflection
Although I started with 15 eggs, only seven made it through incubation. I had slept about five hours in three days. After the lack of sleep, the emotions were running high. Breeding the green tree python was certainly my proudest achievement so far, but now came the worry of making sure they became well established and started feeding. I weighed them after two days and, providing my scales were calibrated correctly, three of them weighed 6 grams, two weighed 7 grams, one weighed 8 grams, and one weighed 9 grams.
It was evident within the first week they had grown significantly. Again, this shows the importance of the egg sack that gives them the crucial advantage needed for their start in life. On the 21st, the second egg that hatched had its first shed. Amazingly it fed exactly 10 days later on the 31st, with a defrosted pinkie and it defecated on the 3rd of September. More late nights lay ahead as this species is nocturnal so I am currently feeding them from 1am onwards. Each night I see them leaving the perch and exploring the enclosures just like the adult green tree python. It’s fantastic to see their instincts kick in and all of them caudal luring while coiled on a perch. I am currently still pinching myself and this is truly a dream come true. Not only is this one of my favourite species on the planet, but it has been a project that has taken a long time and slow conditioning. I am not an expert nor claim to be one, I’m just a passionate herper, who has always had a love for the animal kingdom.
By Branden Darlison-Hoski